It may be quite a labor but it pays off with a strong roof.
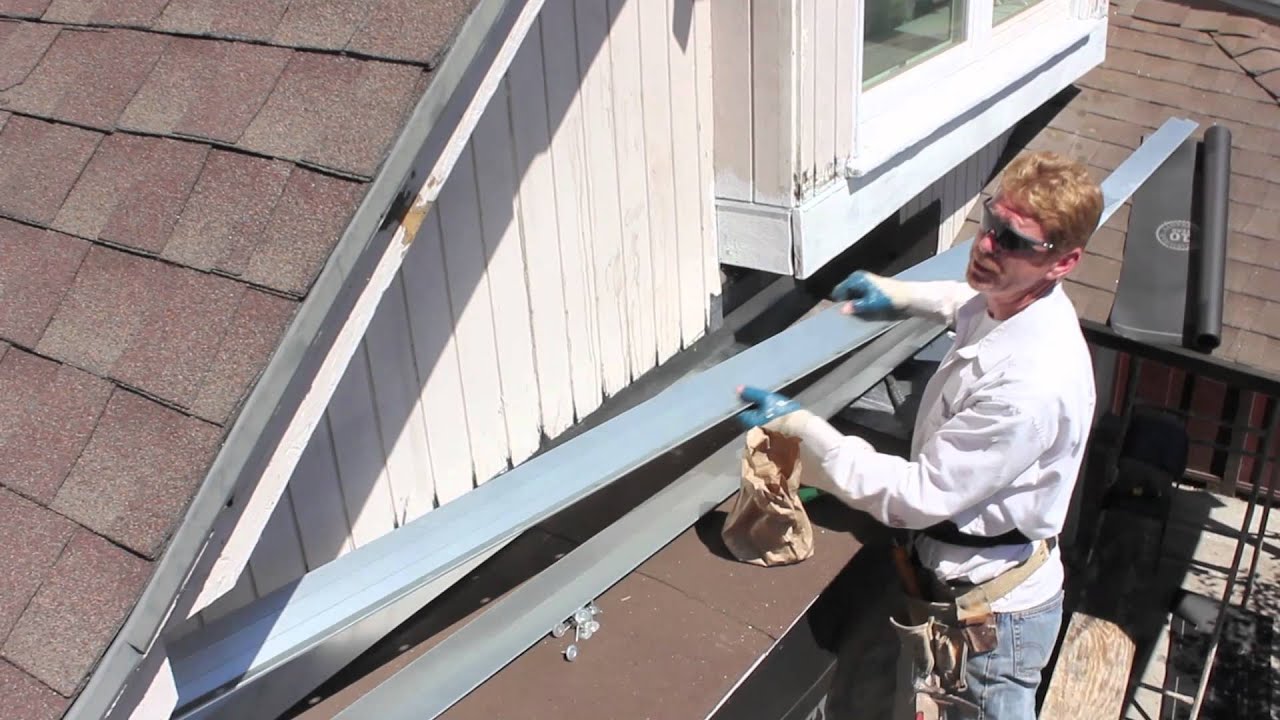
How to secure flashing to roof.
In order to do so safely you will need an extension ladder and rubber soled non slip shoes.
Before attempting to get to the roof you must make sure that the ladder is secure.
The step flashing is bent and shaped in such a way that it fits each course of shingles and goes up the wall of the chimney making it appear to step up.
Roofing cement can dry out and crumble away exposing joints to water.
Rubber vent flashing automatically.
It comes in 10 foot lengths or for step flashing 6 inch lengths.
Look for loose nails and any damage to the seals at the edges of the flashing.
Next cut a piece of flashing that s several inches larger than the hole and secure it overtop of the hole using roof cement.
Apron flashings if you are new to roofing or fitting roof flashings this really is a bread and butter place to start master this and the slightly more difficult flashings like step flashings will seem a lot easier.
Step 1 safely get on the roof.
Always check the roof flashing and the condition of the shingles whenever you clean your gutters.
Wipe away any sharp edges and corrosion using a stiff bristled brush.
When fitting cover flashings to a flat roof like the.
When a roof leaks the problem is often due to leaks in and around the metal roof flashing that protects roof edges valleys and the junctions between roofing and obstructions such as chimneys dormers and vent pipes.
Here is a guide on how to install lead flashing to your roof.
Center the pipe in the flashing and push the flexible front corners up or down so that the flashing pipe is parallel to the vent pipe.
Climbing a ladder and walking on the roof should only be done in shoes.
Expert advice on how to repair roof flashing and chimney flashing prevent ice dams and solve other roof flashing problems.
To seal your roof flashing you first have to get on the roof.
Slide the new flashing over the vent pipe and under the shingles above the pipe.
Fasten loose nails and cover exposed nail heads with roofing cement.
Pull the old flashing up over the vent pipe and scrape any old caulk and debris off the roof.
It is used to seal the gap between walls and intersecting roofs.
Add another liberal coating of roof cement around the outside edges of the patch to form a water tight barrier.
Metal roof flashing is a galvanized sheet metal that is bent at a 90 degree angle about 8 to 12 inches on each side of the angle.
While some skylight manufacturers include flashing in their products sometimes roofing professionals have to create it or purchase it separately.
Click pic to enlarge the video below will show you how to fit lead roof flashing like the ones seen in the picture above.